Images on the web have to fall in the Goldilocks zone. Not too big, not too small. They have to be just right. If they’re too small and they are scaled up, they’ll be blurry.
When you upload images to your WordPress site using the Add Media button, the images are added without shrinking the size. To serve properly sized images, you can either edit images manually or, you guessed right, use an image plugin. The plugins would optimize and serve scaled images on your site effortlessly.
How does it work?
When a new image is uploaded, WordPress will detect if it is a “big” image by checking if its height or its width is above a big_image threshold. The default threshold value is 2560px, filterable with the new big_image_size_threshold filter.
If an image height or width is above this threshold, it will be scaled down, with the threshold being used as max-height and max-width value. The scaled-down image will be used as the largest available size.
In this case, the original image file is stored in the uploads directory and its name is stored in another array key in the image meta array: original_image. To be able to always get the path to an originally uploaded image a new function wp_get_original_image_path() was introduced.
What are default WordPress images sizes?
By default, WordPress comes with three pre-packaged image sizes. They are:
Thumbnail : (150px square)
Medium size : (maximum 300px width and height);
Large size : (maximum 1024px width and height);
Full size : (full/original image size you uploaded).
Step one: Open functions.php file
First things first, you need to open up the functions.php file for your theme. You can either do this using FTP or directly within the WordPress admin area.
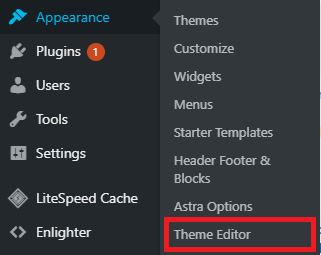
To access the functions.php file via the WordPress admin area, hover over Appearance in the left-hand menu of WordPress and click on Theme Editor.
If you can’t see the Theme Editor option, it may have been disabled either using a plugin (usually a security one), via the theme or via some code in your website files. You may need to contact a developer if you’re not sure how to access this.
Once you have the Theme Editor open, click on Theme Functions (function.php) on the right-hand side of the screen. This will open up the functions.php file.
If you are using a pre-made WordPress theme and you aren’t already using a child theme, I highly recommend setting up one and editing the functions.php file of the child theme rather than the main/parent theme.
Step two: Paste in this add_filter() function
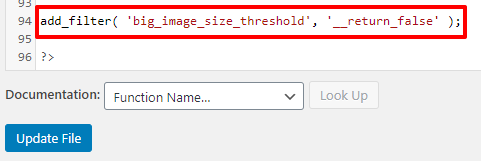
Now that you have opened up your functions.php, all you need to do is paste in the following code at the bottom of the file:
If you have a closing PHP tag (?>) then make sure this code goes before this, like so:
Then all you need to do is save your functions.php file (and upload it if you’re using FTP) and you’re done! You’ll now be able to upload larger images without WordPress forcing them to scale down in size.
Recommended Image Sizes for WordPress Content
If you decide that the image sizes WordPress automatically generates when uploading new media don’t fit with what you need, here are some recommended sizes for content to look at its best on any device.